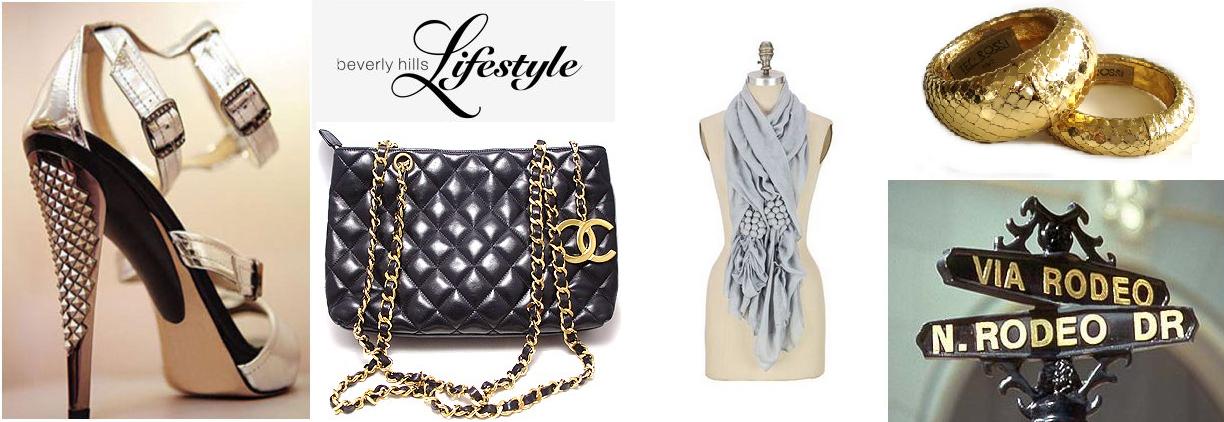
Eternally fashionable, scarves are the most versatile accessory for women. The available variety of fabrics, shapes and sizes make the scarf ideal for all seasons and occasions. Our hand painted silk scarves offer the perfect way to add a touch of elegance and charm to your attire – formal or informal.
The question of how to wear or tie a scarf you just purchased often has a relatively simple answer. Tying scarves is not as hard as it looks, and various attractive scarf tying techniques are rather easy to learn.
As a service to our customers, we have designed this step-by-step scarf tying instruction guide, providing the most common and popular styles of how to tie or wear a scarf. Please familiarize yourself with the basic folding techniques and knots introduced in the beginning of the guide as subsequent tying instructions may refer to the basic scarf folds and knots.
1. THE ASCOT
A wonderful form of wrap giving a professional look to any dress that you’re wearing in a matter of minutes.
Step 1
Fold the scarf according to the basic fold 3.
Step 2
Let it dangle around your neck from the front so that the scarf hangs on your back.
Step 3
Take both the ends and crossing each other bring the forward equally on each side.
Step 4
Now take both the sides and tie then in a small bow just as shown in the illustration.
2. BANDANA WRAP
This is a relaxed way to sport a scarf. Gives the illusion of a trendy bandana on your shoulders!
Step 1
Fold a scarf into the shape of a triangle.
Step 2
Take the broader end (A) and start rolling it towards the narrower end (B).
Step 3
Roll A half way through the scarf.
Step 4
Take the scarf and hang it over your shoulders just like the way it is shown.
Step 5
Tie a simple knot to complete the look.
3. BOW TIE
The bow tie knot offers a scarf tying style that goes well with a suit. Take the opportunity to accent your business attire with a flattering look.
Step 1
A square scarf with a bias-band fold, or a folded oblong scarf, may be used for this knot.
Step 2
Place the scarf around your neck, situating it so that end "A" is about two inches longer than end "B".
Step 3
Cross "A" over "B". Bring "A" up and under the loop. Now double "B" over itself to form the front base loop of the bow tie.
Step 4
Loop "A" over the center of the loop you just formed.
Step 5
Holding everything in place, double "A" back on itself and poke it through the loop behind the bow tie.
Step 6
Adjust the bow tie by tugging at the ends of it and straightening the center knot.
4. BUCKAROO KNOT
A popular knot with cowboys and cowgirls, the buckaroo knot holds its own style in scarf tying. [Buckaroo is the American version of the Spanish word vaquero. In the early days of settling California, when it was still owned by Mexico, the Spanish landowners used vaquero to describe their herdsmen and horsemen. In Spanish, vaca means cow.] Today, buckaroos are men and women who ride horses on the range and work with cattle.
Step 1
Begin with a folded oblong or a bias-band folded square scarf. Drape the scarf around your neck, then grasp opposite ends of the scarf, one in each hand.
Step 2
Wrap the scarf once around one or two fingers of your left hand, from over front to back and back over the fingers with the end hanging down and loose.
Step 3
The right scarf end wraps around the front of the left from front to back being sure to go under the loose left end.
Step 4
The right scarf end then comes forward around from the back, and loops over the loose left end, and through the loop made by the fingers of your left hand, from right to left.
Step 5
Tighten the square and there it is: the 4-square buckaroo knot.
5. BUTTERFLY TIE
A beautiful way of tying a scarf, accenting the elegant you. Can be sported with any outfit in your wardrobe.
Step 1
Fold the scarf using the basic fold 3.
Step 2
Let it hang around your neck with roughly one third of the scarf on one side (A) and two-thirds on the other (B) and cross these as illustrated.
Step 3
Bring A upwards to make it pass through the cross so that a sort of loop is formed.
Step 4
After tossing A underneath B, let it pass through a second loop again.
Step 5
Now when you pull one end firmly, you’ll get your butterfly wrap ready!
6. THE WEAVE
A lovely scarf tying style; ready in a manner of seconds. Suitable to be worn with any outfit; the minimum effort required to get this style ready is the cause of its immense popularity.
Step 1
Fold the scarf according to the basic fold 3.
Step 2
Let it dangle around your neck with one side (B) a bit shorter than the other (A).
Step 3
Take A and after crossing it over B let it pass from under B so that a sort of loop is formed.
Step 4
Bring A towards the neck again
Step 5
After letting A go around the neck, bring it down again and let it pass through the loop that was made before (in step 3).
Step 6
Your casual wrap is ready!
7. CASUAL HOOK AND EYE
As the name indicates, this style is casual yet sleek. Works well on casual as well as work attire.
Step 1
Fold an oblong scarf in half lengthwise.
Step 2
Place around the neck and pull the two ends through the center fold.
Step 3
Voila, you are ready for Rumba
8. THE HOLLYWOOD
Step 1
Fold the scarf according to the basic fold 2
Step 2
Place the scarf around your neck; situating it so that one end is about two inches longer (A) than the other end (B).
Step 3
Cross A over B and let it pass through B so that a sort of hoop is formed.
Step 4
Let A pass through it again and bring it down facing forward
Step 5
Adjust your scarf by straightening the front part (A).
Step 6
Your Hollywood knot is ready!
9. FRENCH TWIST
This elegant knot can be worn with almost any top, and is ideal for filling in the neck of a suit, jacket, or coat. If paired with a collared shirt, then place the knot towards the middle instead of to the side. Please be mindful that the idea is to keep the twist loose.
Step 1
Fold a square scarf into a bias-band fold.
Step 2
Twist scarf jauntily to one side of neck so that the knot is off-center.
Step 3
Center the scarf in front of your neck. Wrap around, crossing ends behind neck and pull forward.
Step 4
Tie a single knot centered underneath chin.
Step 5
Finish by tying a double knot and let ends hang loosely.
10. UNDERCOAT
A beautiful way to accent any coat that you are wearing; brings that energetic feeling to an otherwise boring attire.


No comments:
Post a Comment